

Create a morph
- Select the vector shape to animate. For text or a Boolean group, use Flatten first.
- Move the playhead to the start of the morph.
- In Properties, open Morph shape.
- Choose Morph target: another vector shape, Circle, or Square. You can also select two shapes and use the swap button to reverse their roles.
- Set Duration, then choose Morph.
- Play the animation.
Prepare compatible shapes
A contour is one continuous path. A shape can have several contours, such as an outside edge and a hole.- Use the same number of contours in both shapes.
- Pair open contours with open contours, and closed contours with closed contours.
- Keep each contour within 2–512 points. Point counts can differ; Libre adds points for the morph.
- Unlock the source and its parent groups. Their scale must be nonzero at the start; see Zero scale.
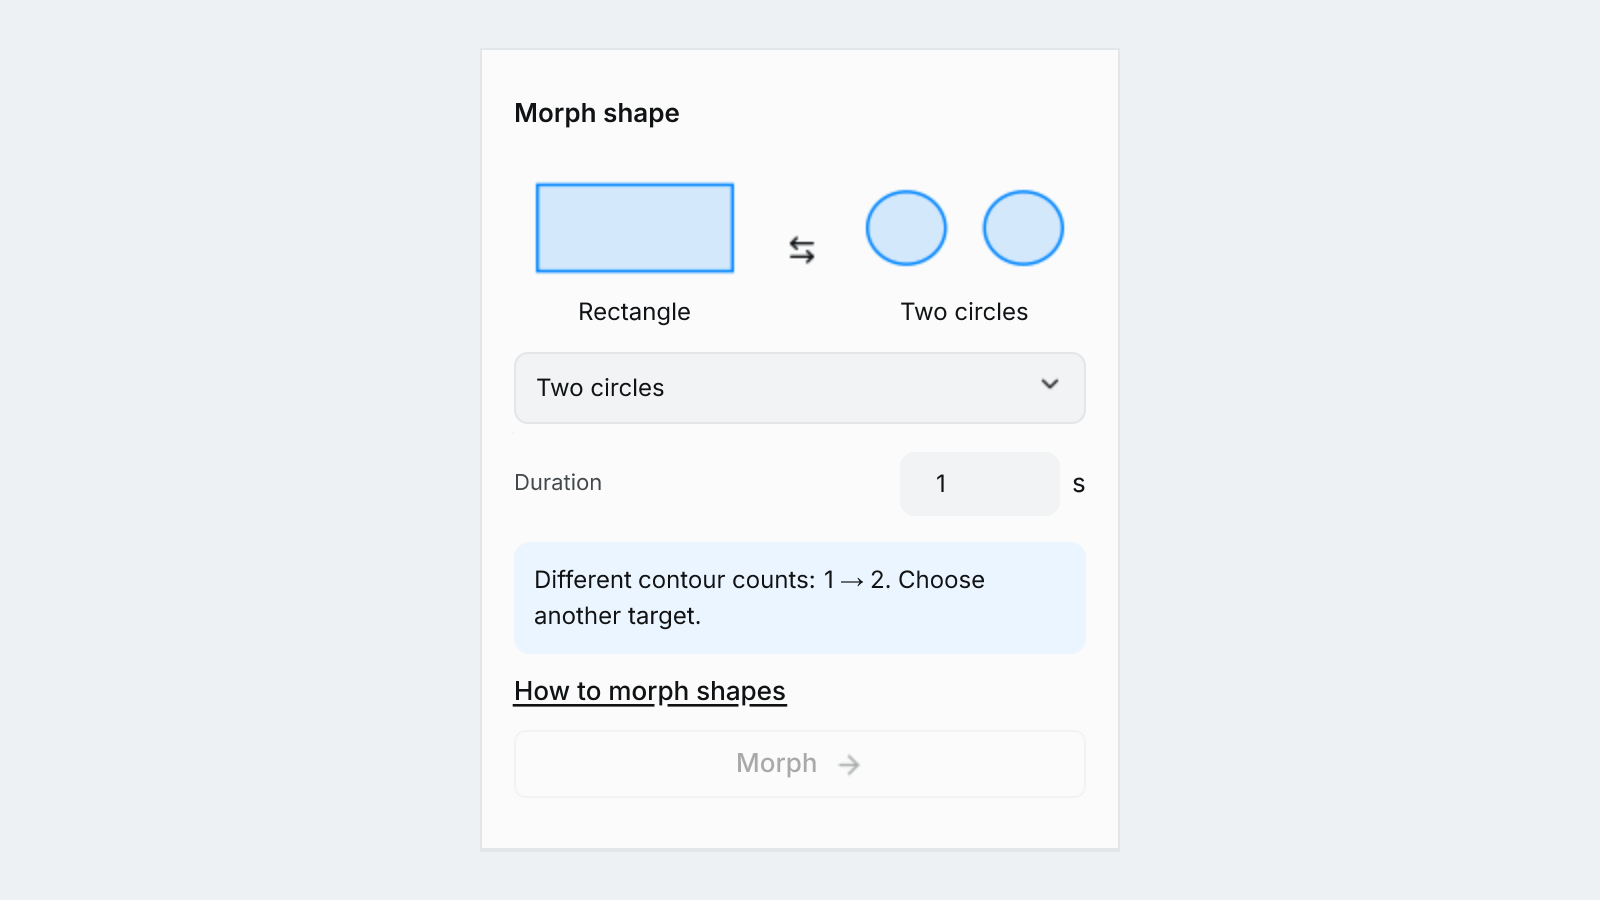
Different contour counts block Morph; choose a compatible target.